- Published on
- Last modified on
- Updated:
Headless Pi - For dummies
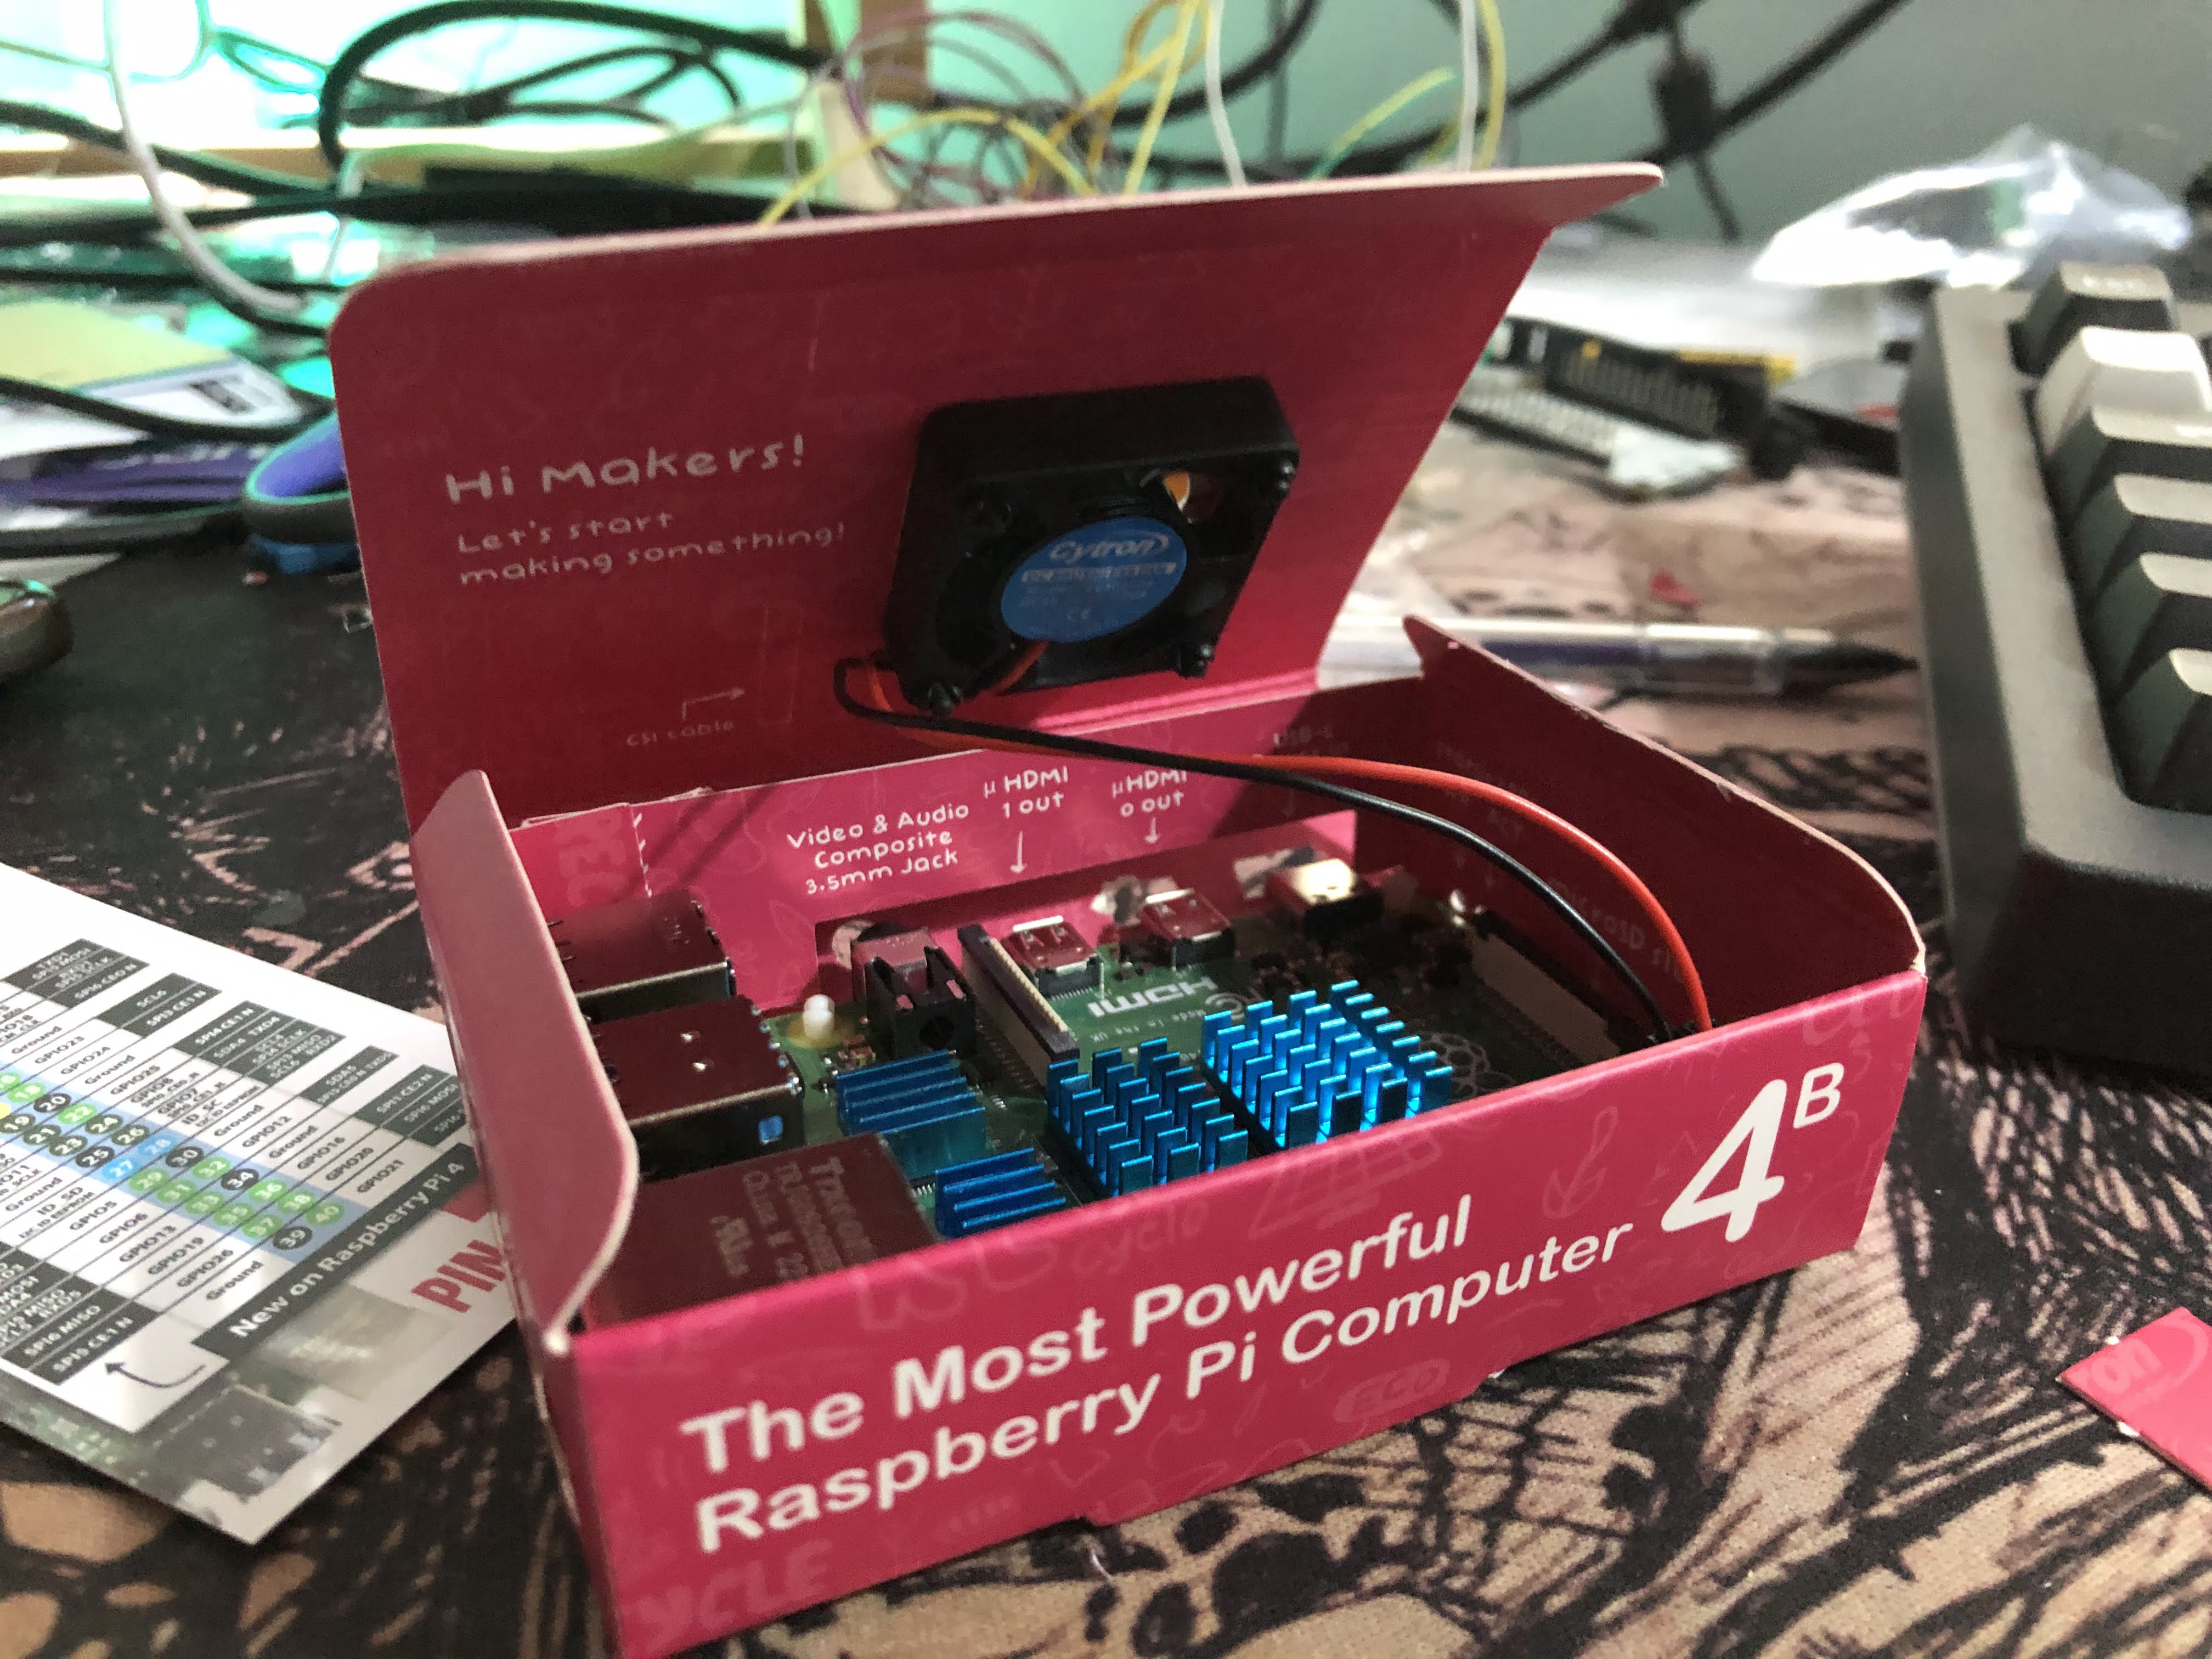
Today, my Raspberry Pi 4 arrived. Pretty excited to finally own one. I used Raspberry Pi 3 & 4 occasionally in my Uni days previously. Now, I would like to have a little server running at home for various projects. I didn't find the need to make it like a 'computer', i.e., with monitor, mouse & keyboards attached. Controlling it via terminal using the host machine is fine.
For the host machine, I'm using Windows 11. Connected to the same Wi-Fi network as the Pi.
Create boot media
Grab a microSD card; 16-32Gb is fine. Download Raspberry Pi Imager, or other imager tools like Balena Etcher to burn the OS Image to the microSD card. I'm using the latest Raspberry Pi Bookworm 64-bit OS. Before installing, customize the OS by setting the hostname, Wi-Fi SSID & Password, enabling SSH, etc. For more info, read the docs here.
Once the OS is installed, remove the microSD card from the host and insert it into the Raspberry Pi. Power it up. Wait for a few minutes for the first boot.
Connect over SSH
The Raspberry Pi will automatically connect to the Wi-Fi network. From the host machine, try pinging the Pi for confirmation.
Open your Terminal and run:
> ping raspi.local

Pinging raspi.local [192.168.0.14] with 32 bytes of data:
Reply from 192.168.0.14: bytes=32 time=60ms TTL=64
Reply from 192.168.0.14: bytes=32 time=24ms TTL=64
Reply from 192.168.0.14: bytes=32 time=7ms TTL=64
Reply from 192.168.0.14: bytes=32 time=12ms TTL=64

Ping statistics for 192.168.0.14:
    Packets: Sent = 4, Received = 4, Lost = 0 (0% loss),
Approximate round trip times in milli-seconds:
    Minimum = 7ms, Maximum = 60ms, Average = 25ms
note
raspi is the hostname I set when creating the boot media. You can replace it with your hostname. The discovery is possible because the Raspberry Pi is using mDNS that works out of the box using avahi. If you can't ping it, try to find the IP address of the Pi using your router admin page.
Now, SSH into the Pi:
ssh iqmal@raspi.local
note
iqmal is the username I set when creating the boot media.
You will be prompted to enter the password. Enter the password you set when creating the boot media. For the first time connection, you may be asked to trust the device, etc. Then, you should now be connected to the Pi.
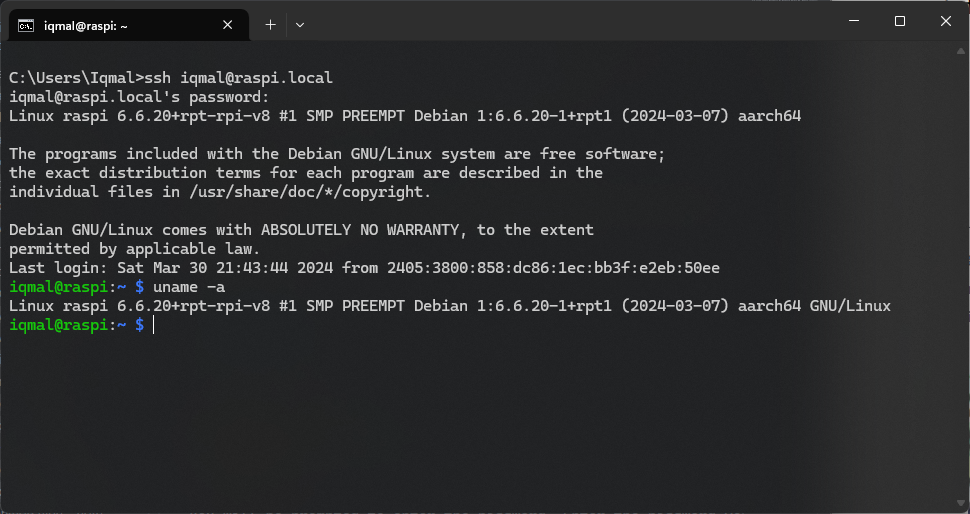
Great, now you access the Pi terminal which you can install software, configure, etc.
Enable VNC
This is an optional step if you want to use the Raspberry Pi by its GUI desktop interface. This desktop interface is what you'll see if you connect your Pi to the external monitor. Since we don't have any monitor connected physically, we can access it remotely using VNC (Virtual Network Computing).
Good to note that, in Bookworm, they migrated to Wayland as the display system rather than X11 used in the previous OS generation.
Similarly, the Wayland security model prevents traditional remote desktop access, and so a new VNC server, called wayvnc, is being used instead of RealVNC. This is a bit more restrictive in terms of the client applications which can connect to it — we have had good results with the TigerVNC client, available here.
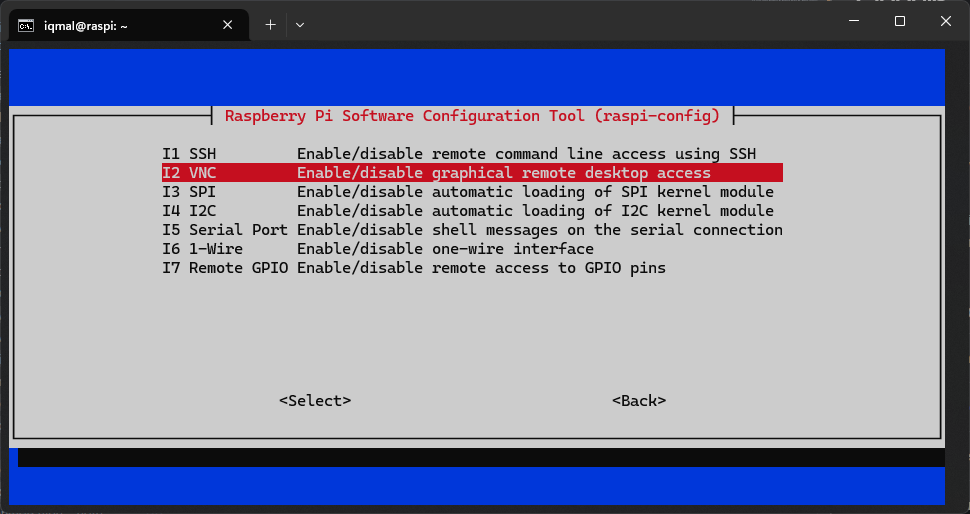
To enable VNC, run the following command:
sudo raspi-config
warning
I notice that, when I enable VNC after I do the set default boot mode to CLI, it will create VNC config based on X11 backend, not wayland. This will cause the VNC viewer to show a blank screen.
Navigate to Interfacing Options > VNC > Yes. Reboot the Pi.
On the host machine, download TigerVNC viewer.
Open TigerVNC viewer and enter the IP address/hostname of the Pi.
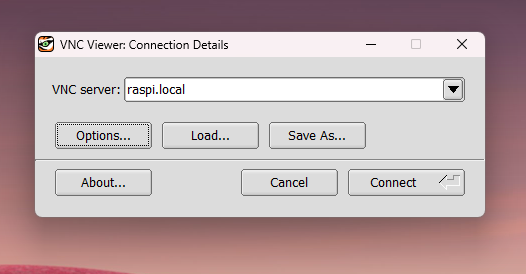
Then, enter the login username & password.
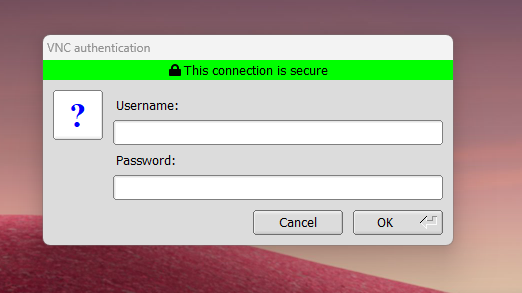
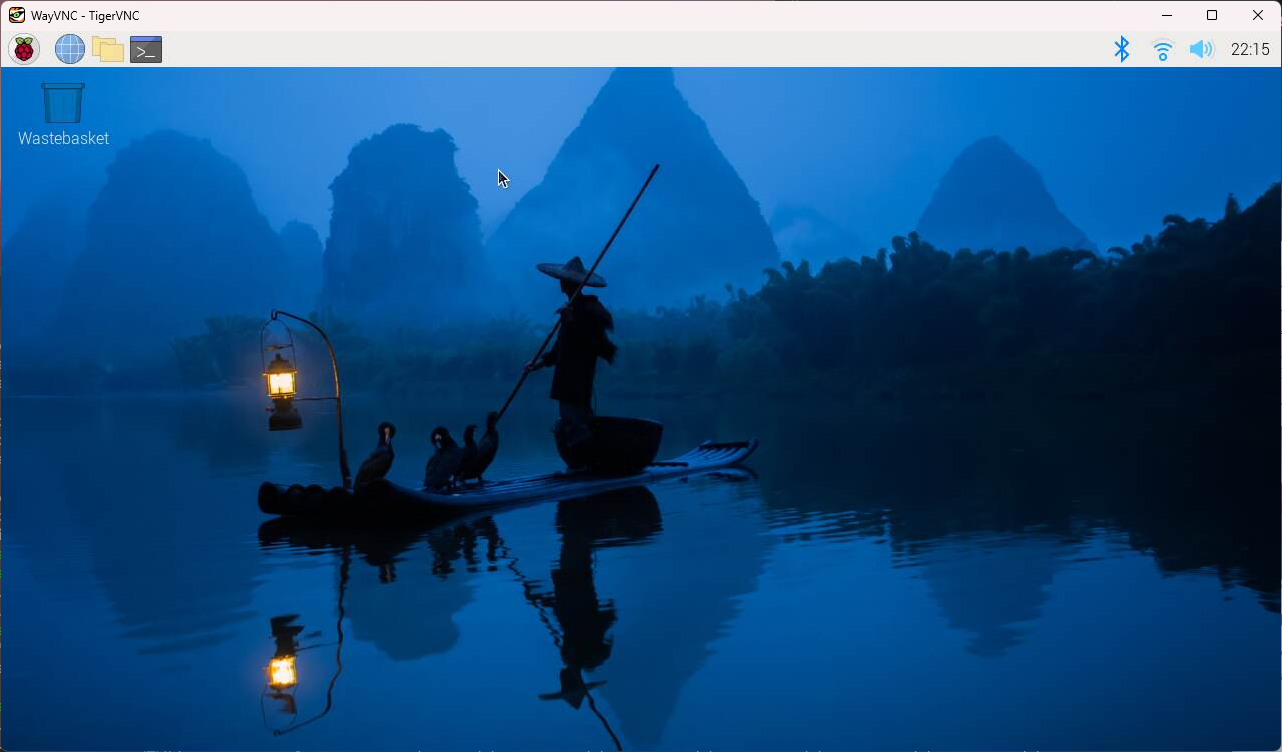
You should now see the Raspberry Pi desktop interface.
Set default boot mode to CLI
This is also an optional step since we are not using the GUI interface that much. We can change the default boot mode to CLI (Command Line Interface) to save some resources. We can always start a GUI anytime.
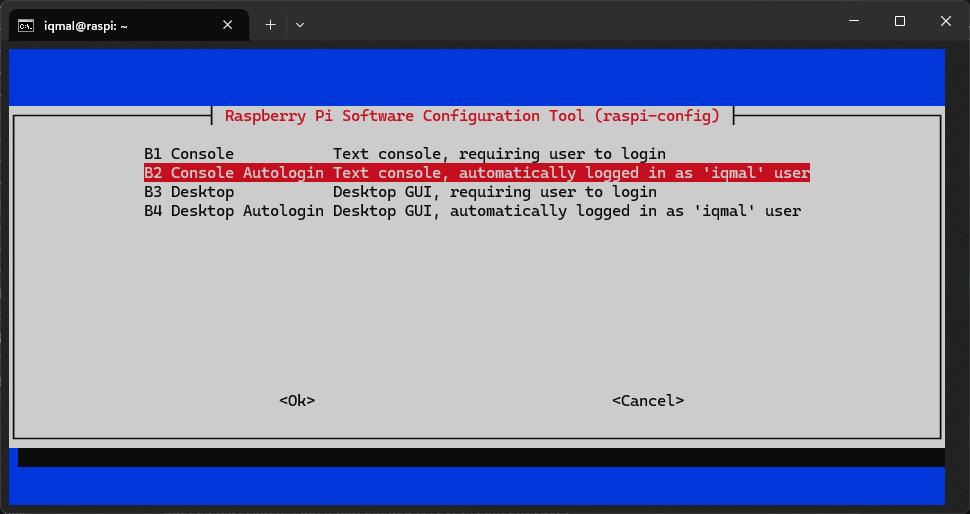
sudo raspi-config
Navigate to System Options > Boot / Auto Login > Console Autologin. Reboot the Pi.
To start the GUI interface if needed, from the SSH terminal, run:
sudo systemctl start lightdm
Connect VNC and you should see the desktop interface again.