- Published on
- Last modified on
- Updated:
Spinning up MySQL Server & PhpMyAdmin container with Docker
In this guide, I'll show you how to quickly get a MySQL database and phpMyAdmin (the database management tool) running, making your development process smoother and faster. Let's get started!
Install Docker Desktop if you haven't already. It makes it easier to interact with Docker using GUI or CLI. I'll be using docker compose, which I think is the easiest way to get the services up and running.
Create the stacks
Create a new file compose.yml and put the following content in it. I usually put it in a specified folder to store all my docker compose files, for example: E:\Stacks\mysql-pma\compose.yml.
name: mysql-phpmyadmin
services:
  mysql:
    image: mysql:latest
    restart: unless-stopped
    environment:
      MYSQL_ALLOW_EMPTY_PASSWORD: "true"
    ports:
      - "3306:3306"
    volumes:
      - mysql-data:/var/lib/mysql

  phpmyadmin:
    image: phpmyadmin:latest
    environment:
      PMA_HOST: mysql
      PMA_PORT: 3306
    ports:
      - "8080:80"
    depends_on:
      - mysql

volumes:
  mysql-data:
To start the containers, simply run the following command in the terminal. The services should be available immediately. That's it, simple, isn't it!
docker compose up -d

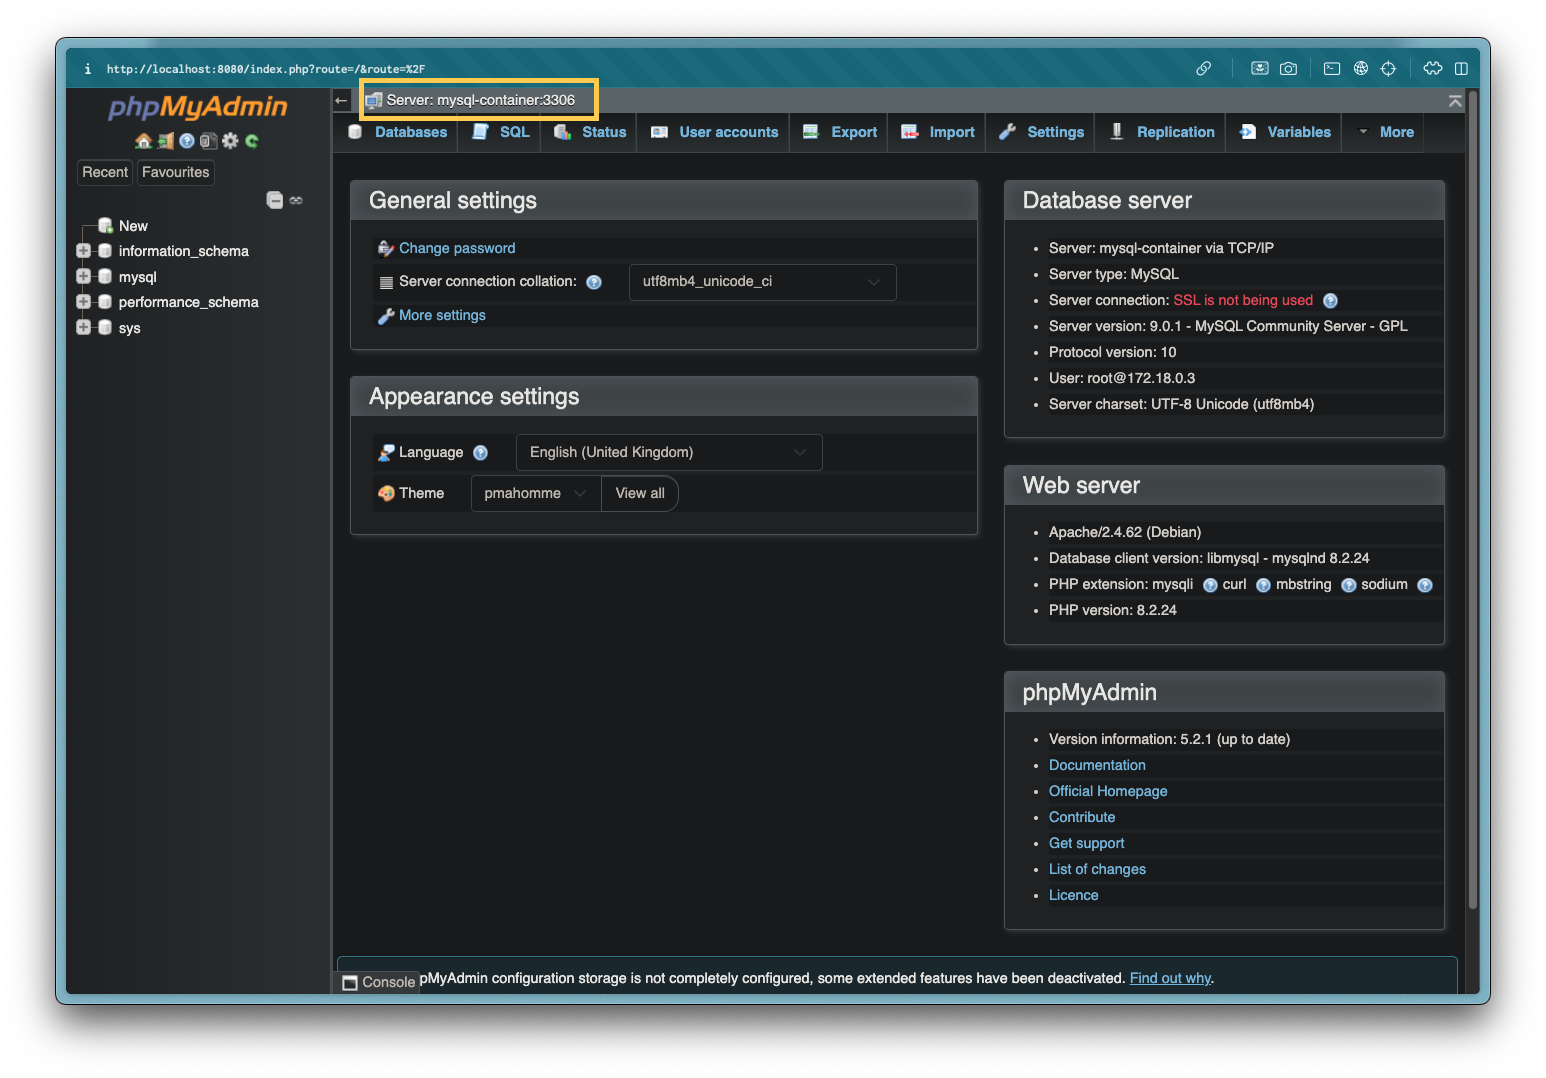
Now, let's try to log into PhpMyAdmin. Launch http://localhost:8080 on your web browser. If you didn't specify the username in the step above, the default one will be root.
In the above compose.yml file, I use MYSQL_ALLOW_EMPTY_PASSWORD. This is fine for local development purposes. If you prefer to have password protection for your database, read the documentation for details. But, in essence, here are the alternative options to choose from:
MYSQL_ROOT_PASSWORD: Specify the password for the MySQL root user.MYSQL_RANDOM_ROOT_PASSWORD: A random password will be generated for the MySQL root user and printed to stdout.
Update the stacks
Later on, if you want to update the containers to use latest image versions, run the following command to pull the latest images and restart them. Your current data in the database will not be lost even after updates because we already set up a volume to persist the data.
docker compose pull && docker compose up -d
Import existing database to MySQL
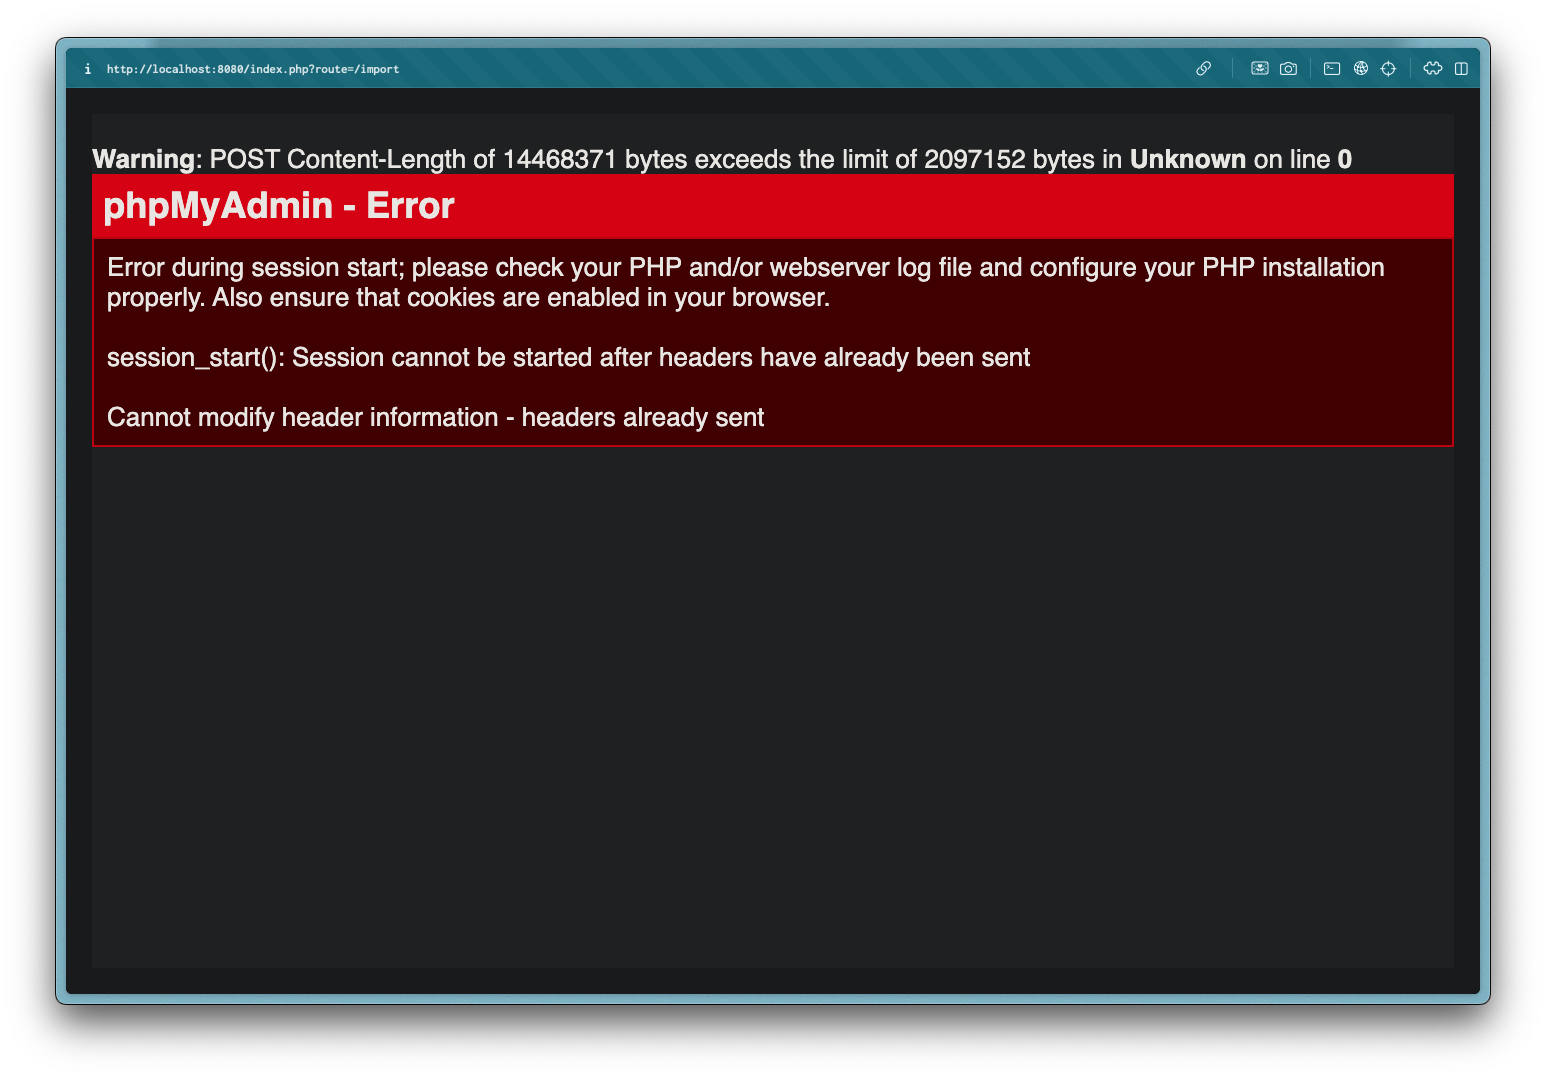
You can now interact with the database, including importing existing .sql files through the PhpMyAdmin interface. But sometimes, if you upload a large file, an error may occur like the one shown below.
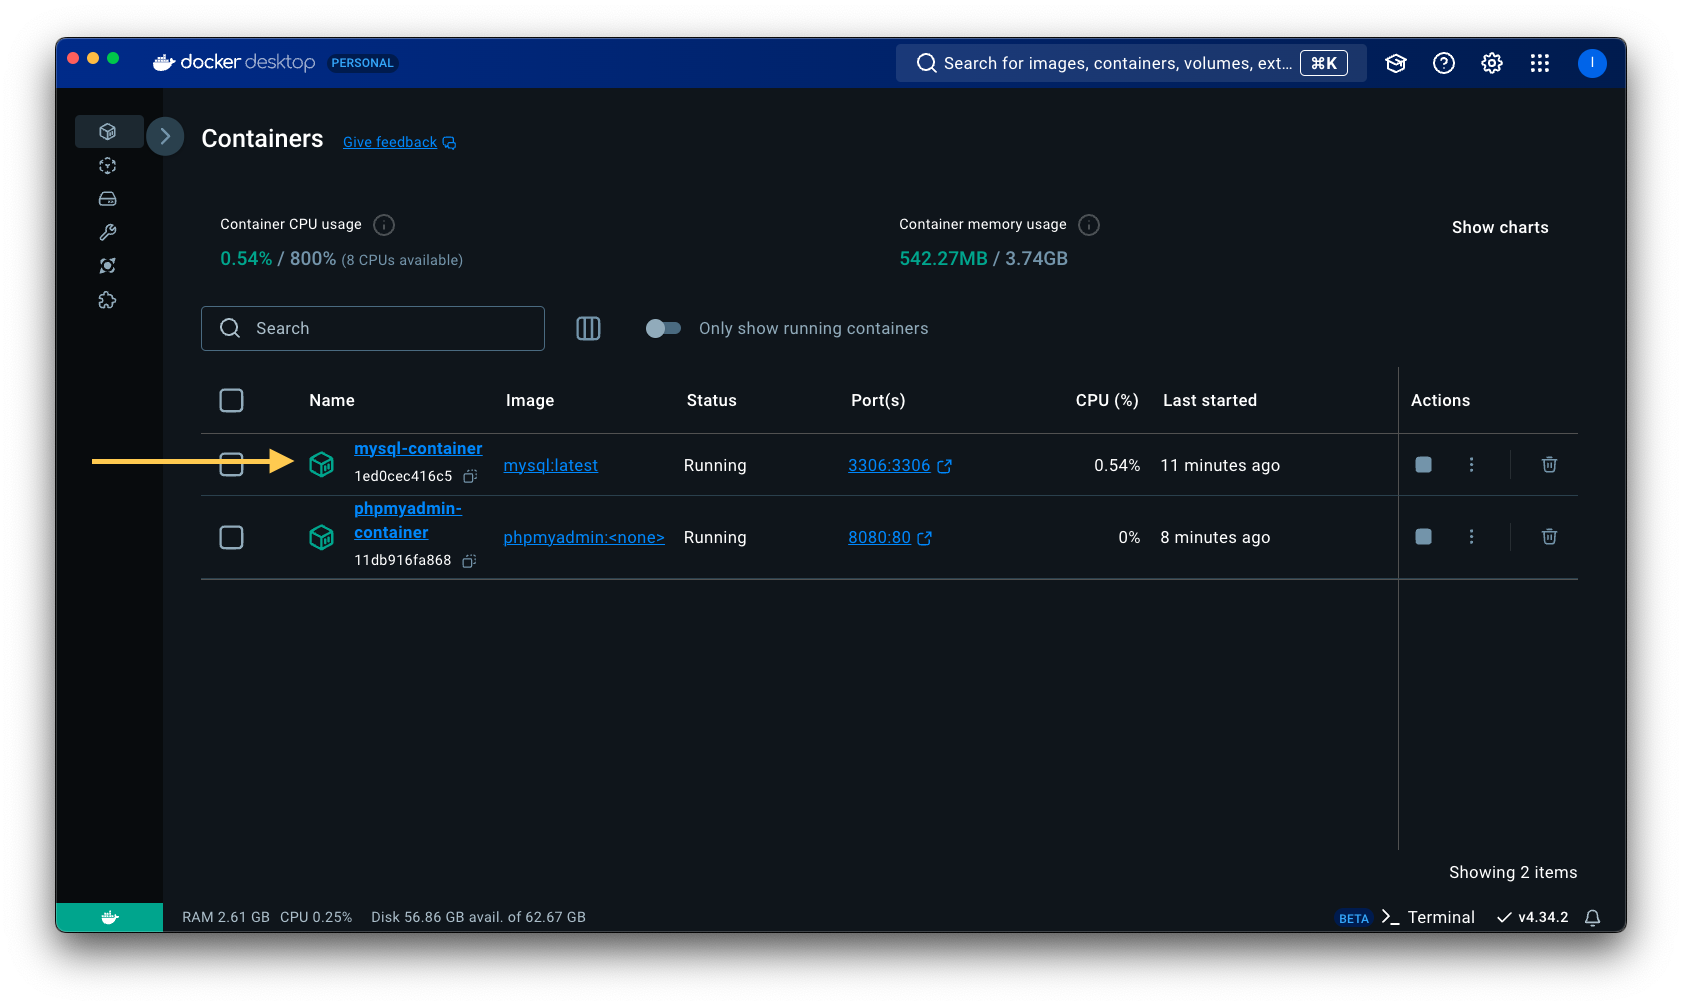
To fix this kind of error, you may need to inspect the PhpMyAdmin container and modify various PHP configurations. However, what I found easier was to use the MySQL CLI from the MySQL container. Here's how you can do it using Docker Desktop GUI.
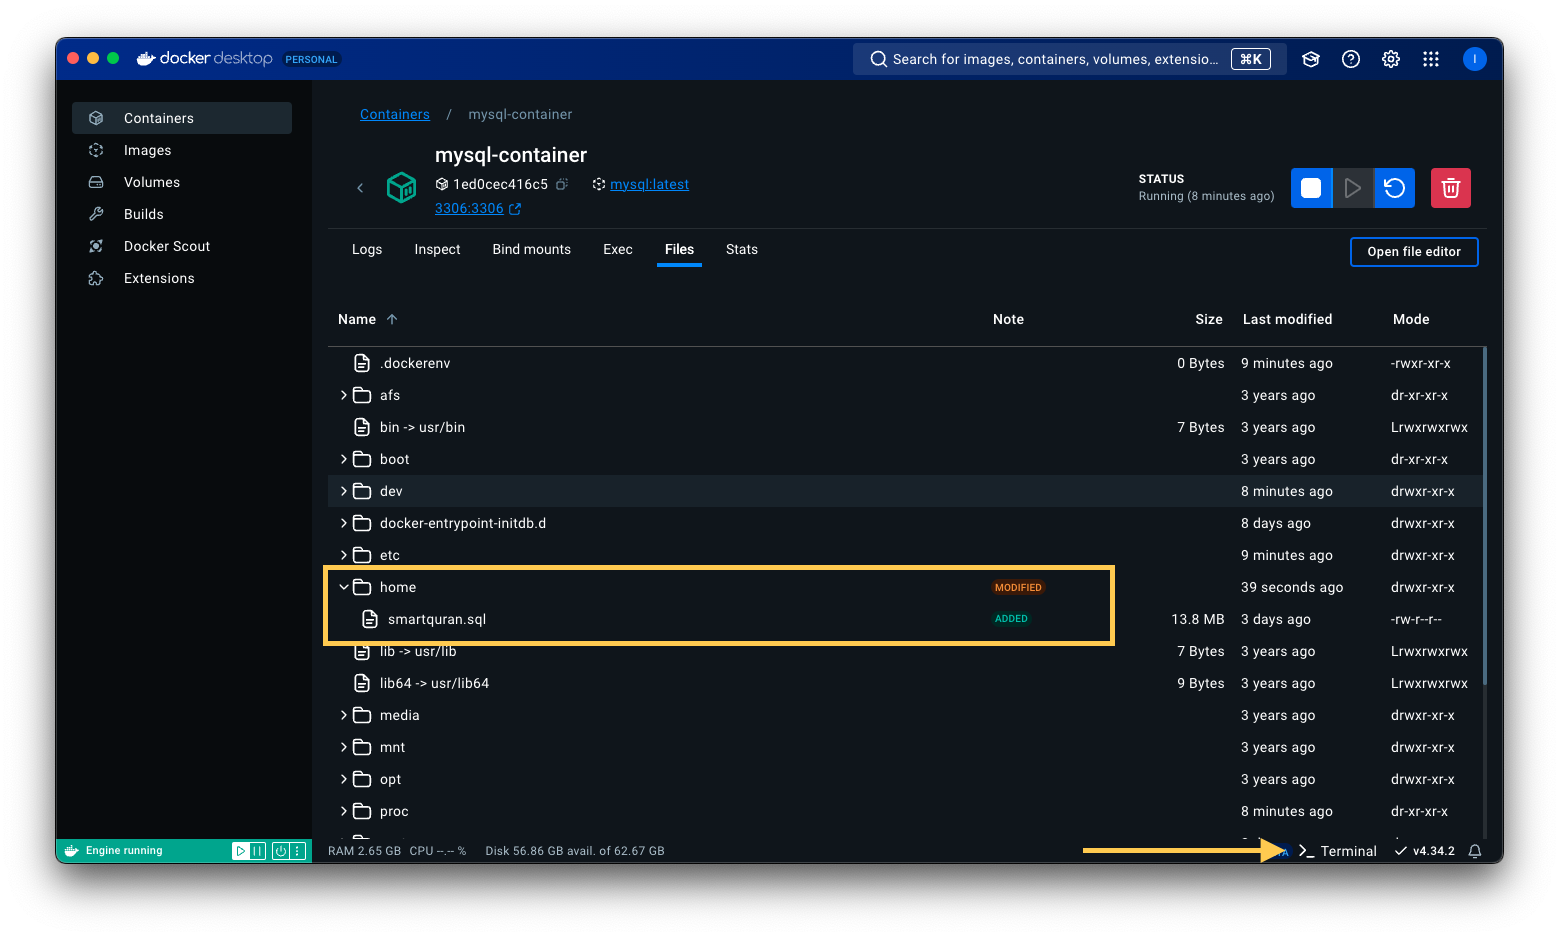
Open the mysql-container container.
Navigate to the Files tab.
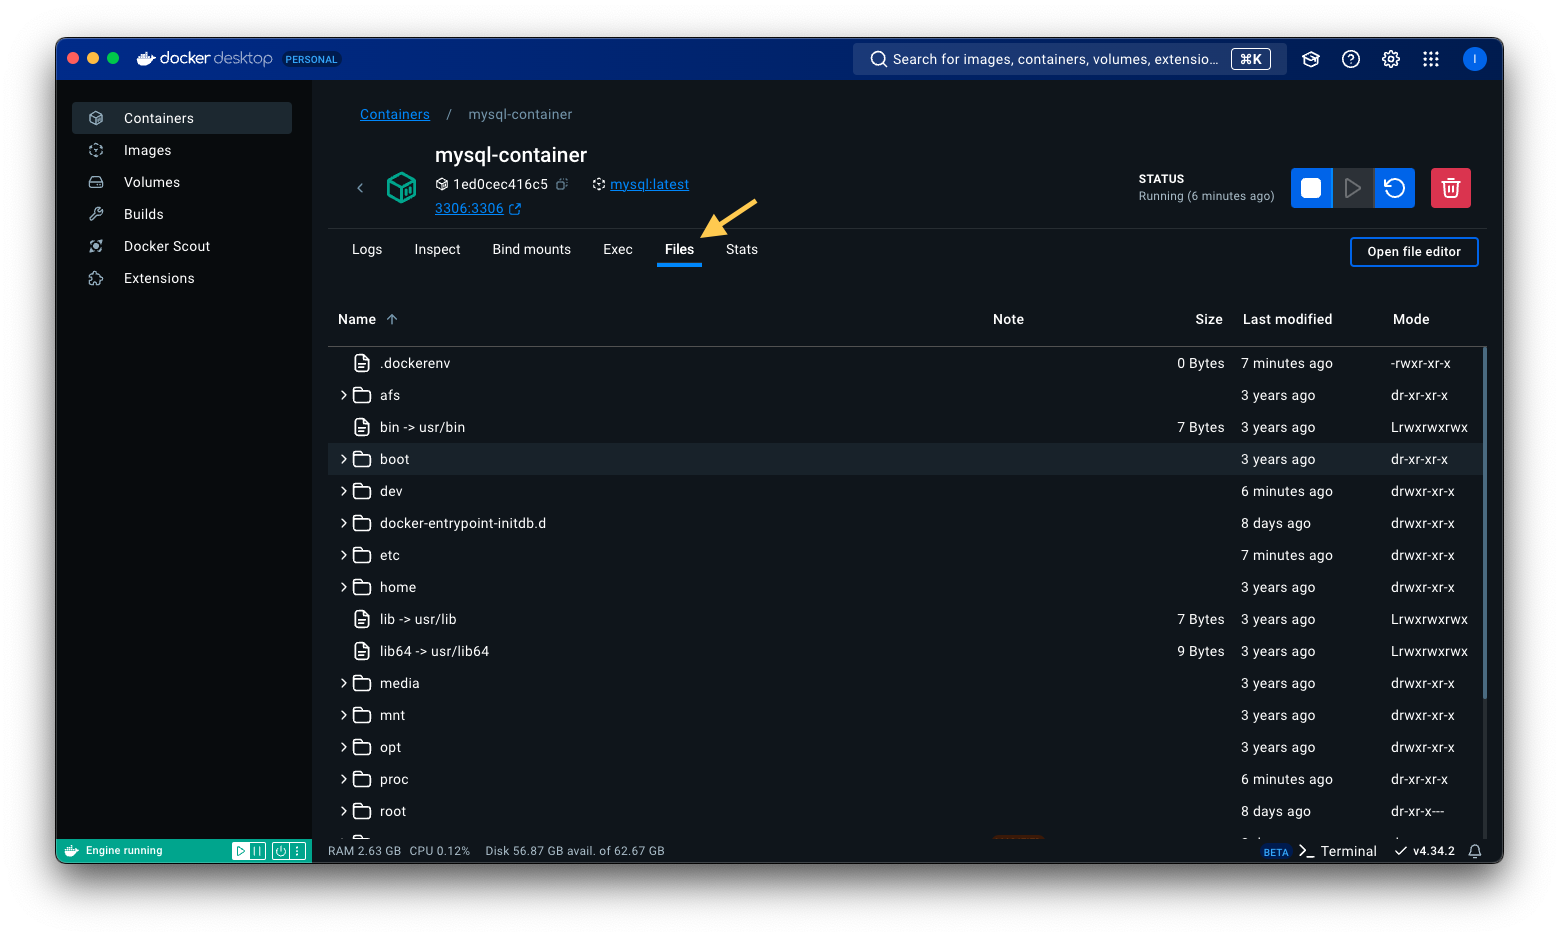
It will show the container's filesystem. Find the home folder, right-click on it, and choose Import.

Choose the .sql file you want to import. After choosing, the file will appear under the home folder.
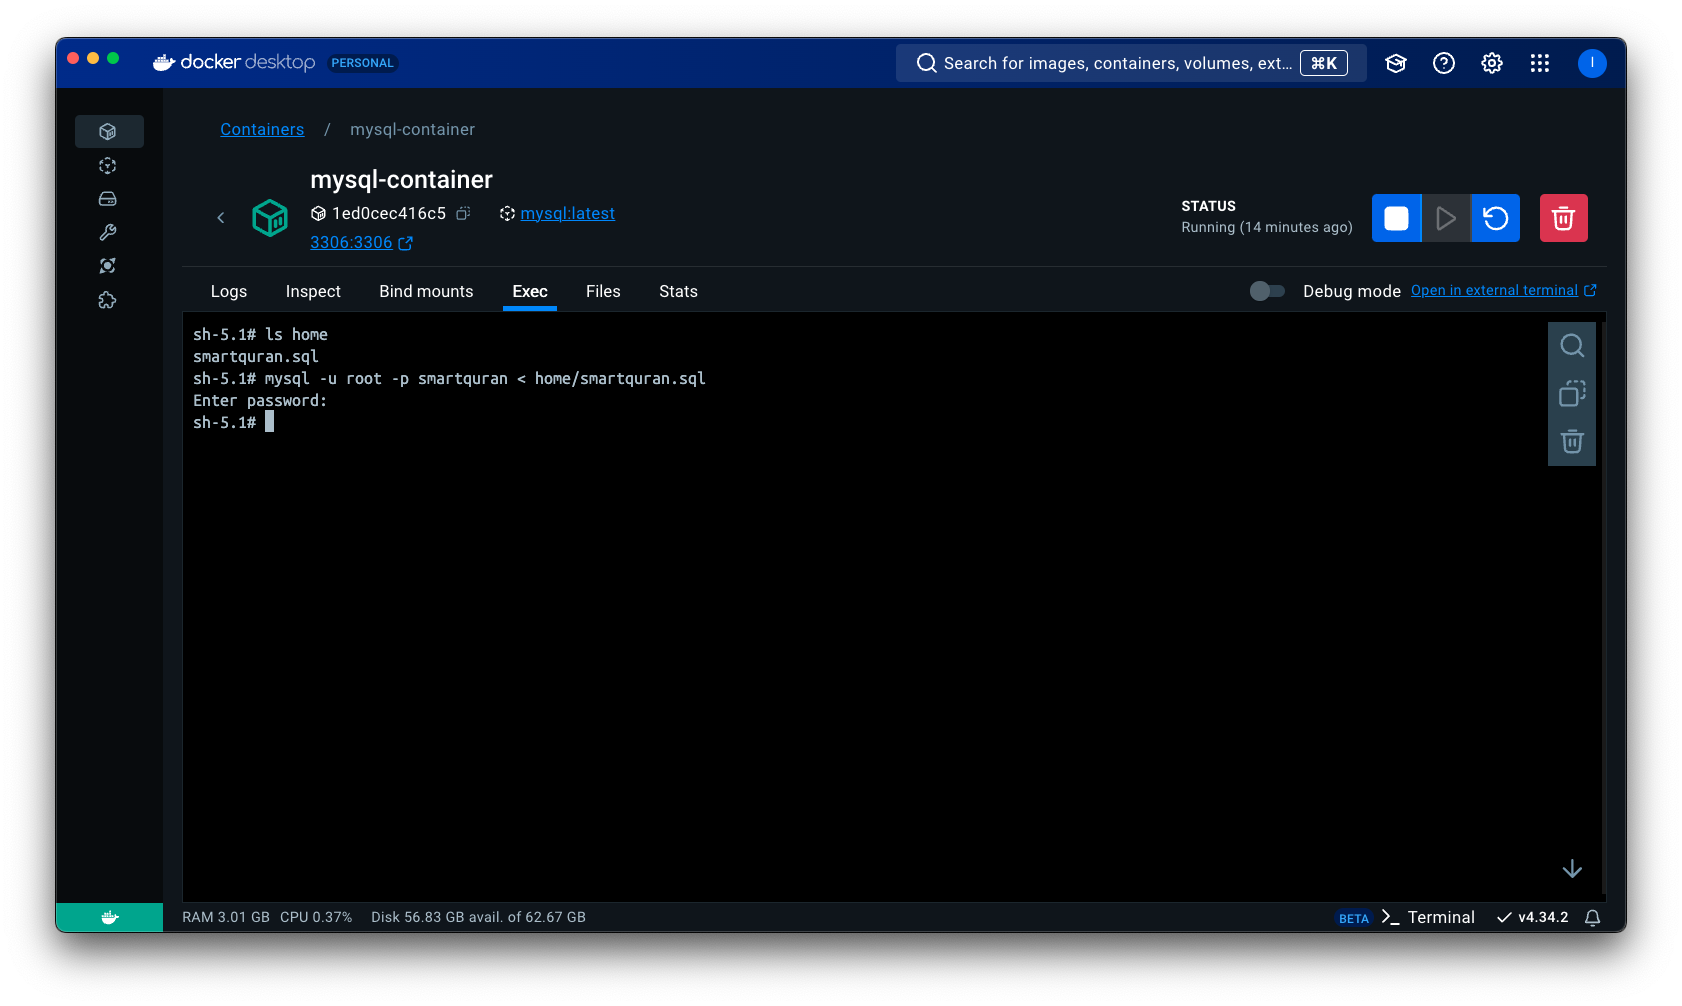
Now, navigate to the Exec tab and run the following command:
mysql -u root -p smartquran < home/smartquran.sql
Here, smartquran is the database name. You can create it using the PhpMyAdmin console if it doesn't already exist.
Done! You can check your data from PhpMyAdmin console to verify that the import was successful.