How to set up signed commits on Windows
- Published on
- Last modified on
- Updated:
Setting up signed commits is an essential step in ensuring the authenticity and integrity of your code contributions. By signing your commits, you provide a cryptographic assurance that the changes are genuinely from you, preventing unauthorized modifications.
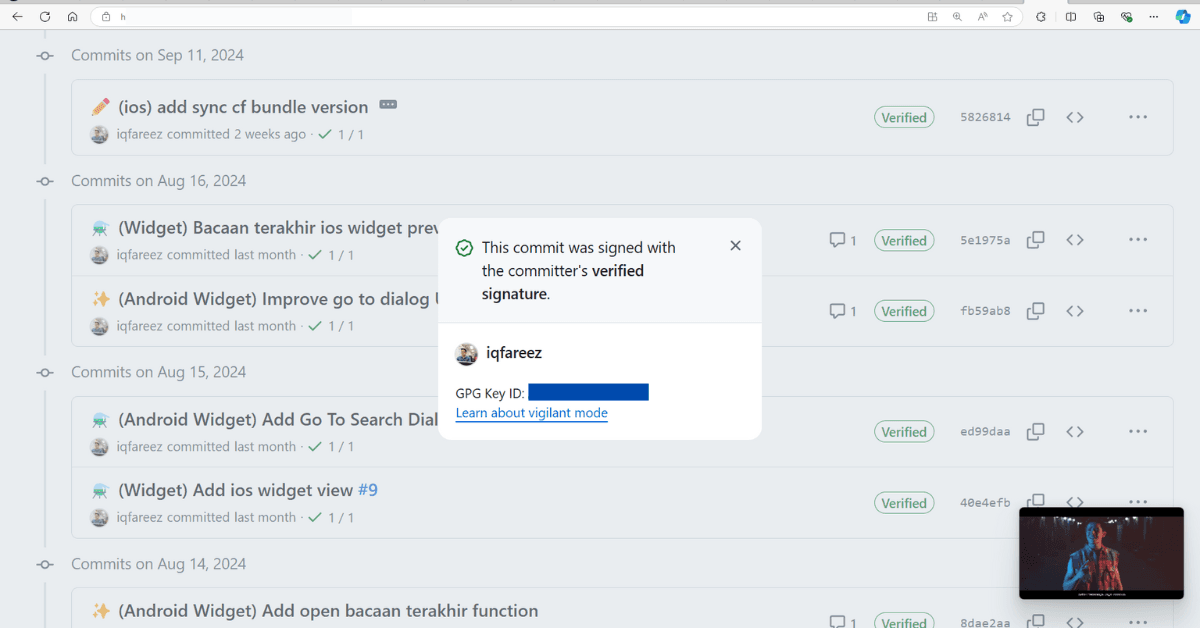
When you push the signed commits on GitHub, you'll get a Verified badge with your commits.

In this guide, we'll walk through how to set up signed commits on a Windows environment, ensuring that your Git contributions are both secure and trusted.
Prerequisites
Install the software below on your machine.
Create a PGP key pair
First, determine the email address you want to use with the key. Head to GitHub > Settings > Emails. You can use your public email or use your GitHub's private email.
Launch Kleopatra and click on New OpenPGP Key Pair...
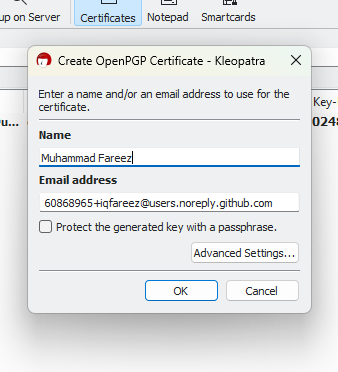
Fill in your name and email address you have chosen earlier. If you want to customize the key type or the expiry date, click on Advanced Settings.... Then, click OK.
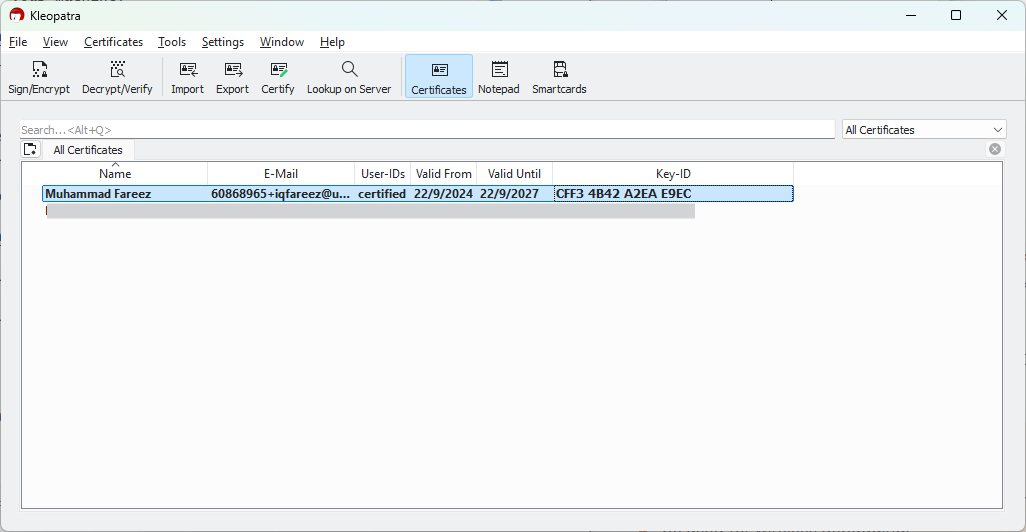
A success dialog will appear, click OK to close it. Don't worry about the fingerprint for now. A newly created key will appear in the dialog.
Add GPG Key to GitHub
Go to your GitHub account > Settings > SSH and GPG keys.
In the GPG keys section, click on New GPG key. It will ask for a title and key. For the Title field, you can put anything you would like. I usually put my computer name (to distinguish between other devices I own).
To fill the Key field, you'll need the public key for the key you just created. Back to Kleopatra, double-click on the key, and click Export
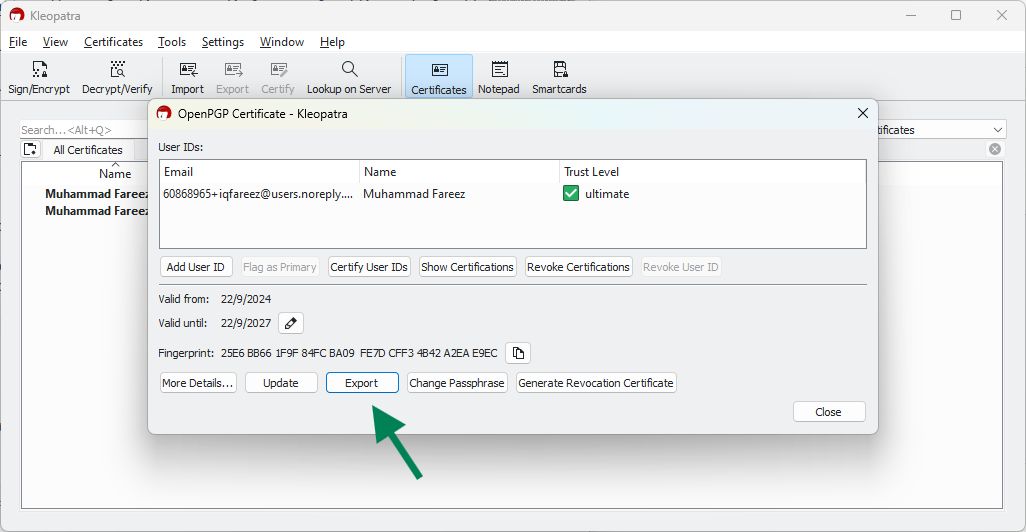
A dialog will appear, copy everything in the dialog and paste it into the Key field.
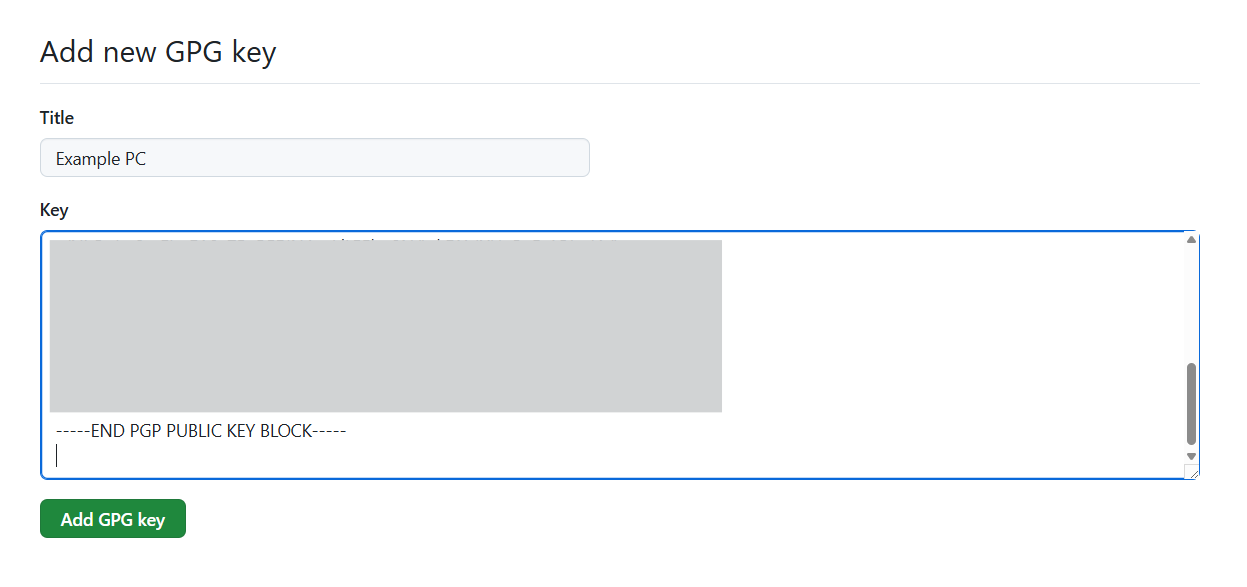
Click Add GPG Key.
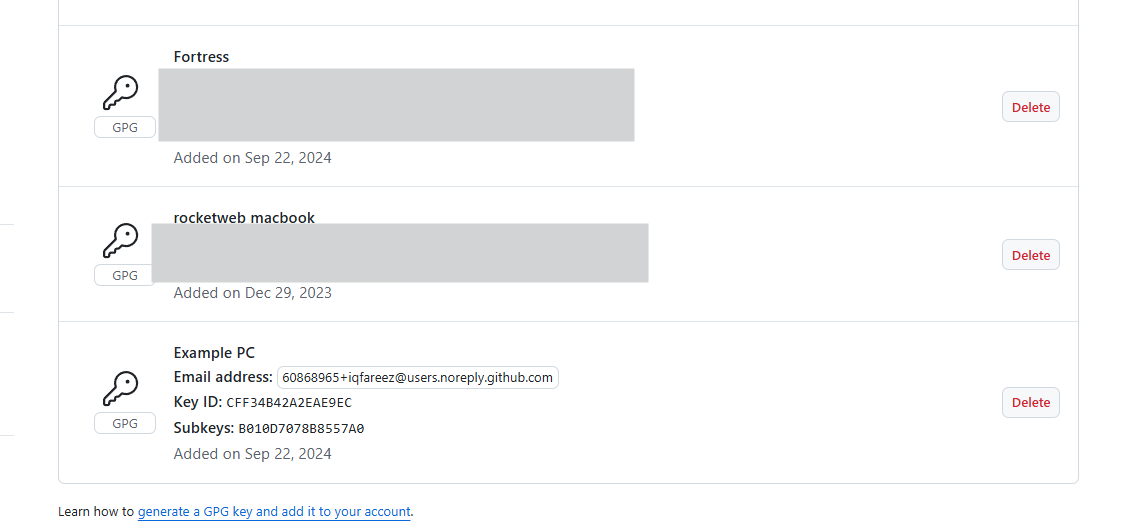
Verify that the key is added.
Local Git setup
Open Terminal or Git Bash.
If you haven't set up your git username and password yet, you can do it now.
git config --global user.name "myname"
git config --global user.email myemail@example.com
(Optional) Unset the previously set GPG key if you have set it up before this.
git config --global --unset gpg.format
When you install the Gpg4win earlier, it will also install gpg binaries in your system. Locate gpg.exe and copy its full path. Usually installed at "C:\Program Files (x86)\GnuPG\bin\gpg.exe"
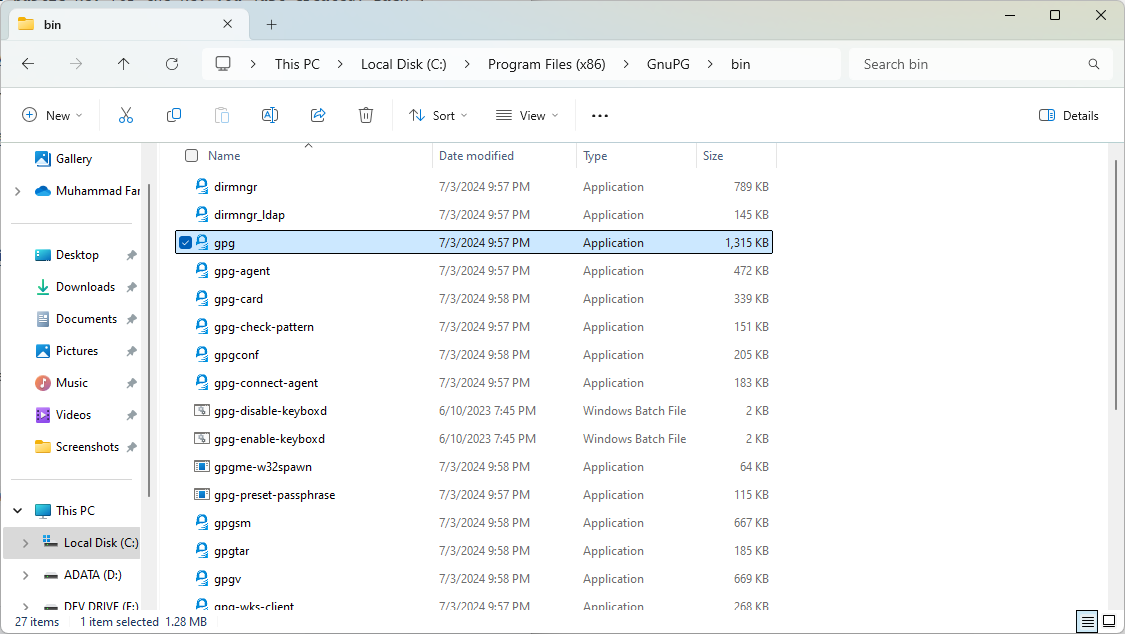
Then, tell git where the gpg program sits
git config --global gpg.program "C:\Program Files (x86)\GnuPG\bin\gpg.exe"
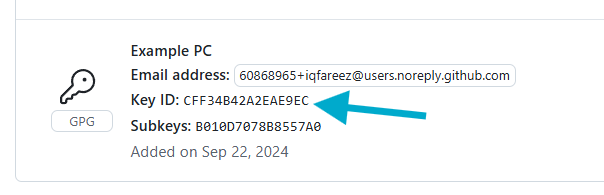
Set key ID from the generated key to git
git config --global user.signingkey 3AA5C343XXXXXXXX
Replace the key ID with your own key ID. You can find the Key ID from Kleopatra or Github.
(Optional) You can tell git to automatically sign the commits.
git config --global commit.gpgsign true
That's it, how easy it is to set up signed commits. Ask me any questions you have. For more information, please consult the documentation.